Outline for an Article on Homemade Sweet and Sour Chicken
The Ultimate Homemade Sweet and Sour Chicken Recipe
Introduction
- Reflect on the joy of recreating beloved takeout at home.
- Share a personal anecdote or story about a memorable sweet and sour chicken experience.
- Highlight the advantages of homemade: control over ingredients, freshness, and the joy of cooking.
Why You Should Choose Homemade Sweet and Sour Chicken
-
Health Benefits of Cooking at Home
- Control over sugar and sodium levels.
- Use of fresh, high-quality ingredients.
- Cost-Effectiveness
- Comparison with takeout prices.
- Multiple servings from a single recipe.
- Perfect for Family Gatherings
- Make it a fun family cooking night.
- Serve it at parties and special occasions.
Ingredients for Sweet and Sour Chicken
- Essential Ingredients Breakdown
- Table: Ingredient List
| Ingredient | Measurement | Purpose |
|---|---|---|
| Pineapple Juice | 1 cup | Fruity sweetness |
| Distilled White Vinegar | ½ cup | Tangy flavor |
| Sugar | ½ cup | Sweetness, glossy finish |
| Ketchup | 3 tablespoons | Color and slight acidity |
| Soy Sauce | 2 tablespoons | Savory depth |
| Crushed Red Pepper Flakes | ¼ teaspoon | Heat without overpowering |
| Cornstarch | 1½ tablespoons | Thickening agent |
| All-Purpose Flour | ½ cup | Crispy batter |
| Chicken Tenderloins/Breasts | 1 pound | Protein source |
| Red Bell Peppers & Onion | 2 peppers & 1 onion, chunks | Flavor and crunch |
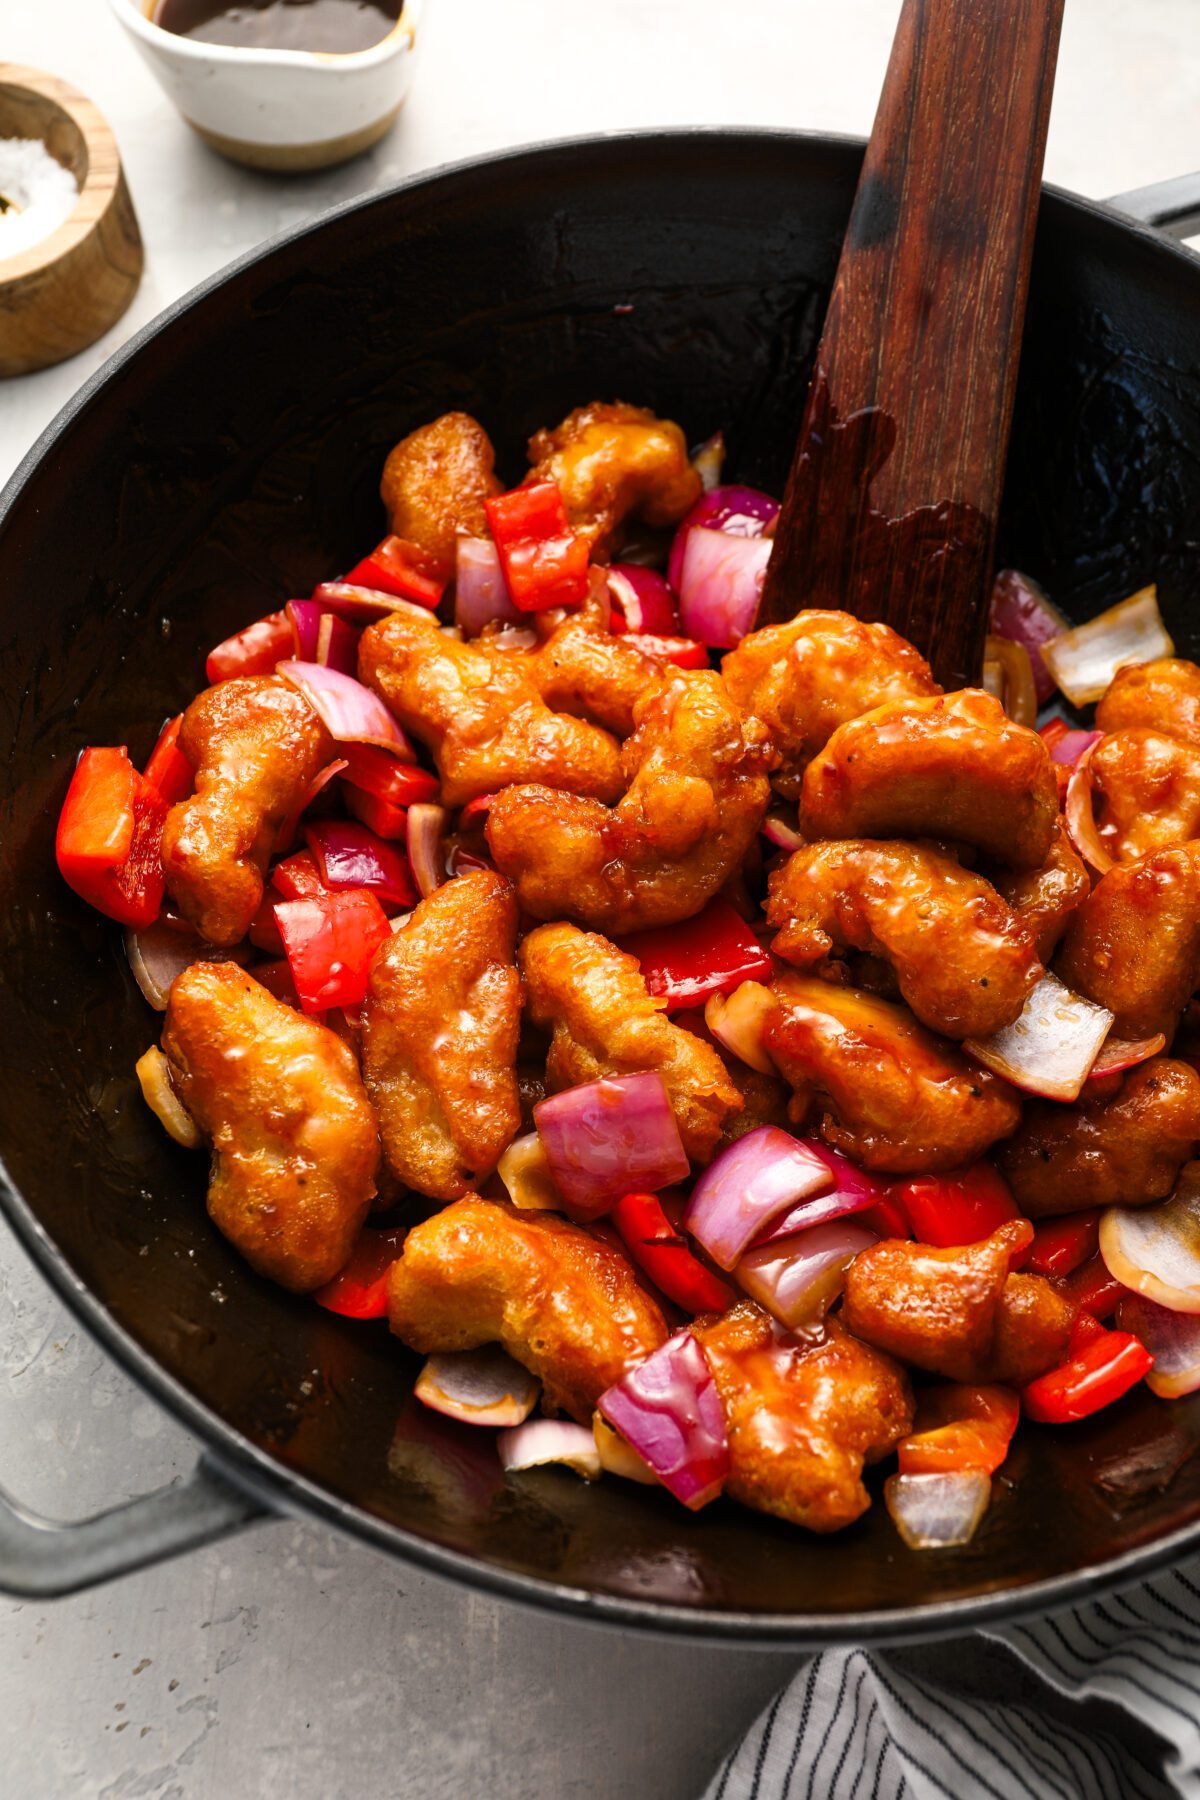
Step-by-Step Instructions
- Making the Sauce
- Detailed outlines on how to whisk the ingredients together.
- Preparing the Batter and Chicken
- Descriptions of combining dry and wet ingredients.
- Pan-Frying the Chicken
- Tips for achieving the perfect golden-brown chicken.
- Stir-Frying Vegetables
- Importance of maintaining veggie crunch.
- Combining It All Together
- How to coat chicken and veggies with the sauce effectively.
Pro Tips for Success
- Achieving the Right Crispy Texture
- Tips on frying temperatures and oil use.
- Storage and Reheating
- Best practices for storing leftovers.
- Serving Suggestions
- Ideas for pairing with rice or noodles.
Common Mistakes to Avoid
- Not Preparing Ingredients Ahead of Time
- Importance of mise en place.
- Overcrowding the Pan
- Impacts on cooking evenly.
- Not Adjusting Sauce to Personal Taste
- Recommendations for balance between sweet and sour.
Conclusion
- Recap the joys and benefits of making sweet and sour chicken at home.
- Encourage trying the recipe and personalizing it.
FAQ Section
- What can I use instead of chicken?
- Suggestions for shrimp, tofu, or vegetables.
- Can I make it healthier?
- Alternative ingredients and cooking methods.
- How do I make it less sweet?
- Adjusting ratios of sugar or tomato and vinegar content.
- Can I freeze leftovers?
- Guidance on freezing and thawing.
- What side dishes go well with sweet and sour chicken?
- Suggestions like fried rice, steamed vegetables, or dumplings.